Long-exposure photography is one of the most fascinating genres and will hook you into photography forever. It will help you create the magical and ethereal photos you’ve always imagined.
However, long-exposure photography can be a complex technique that is difficult to master. Do you have the right equipment for long-exposure photography? Do you know how to start with the initial settings? Okay. Let’s go to the points.
What is Long Exposure in Photography?
Long-exposure photography is a photographic style that uses long exposures or slow shutter speeds. You can blur moving elements like water, cars, or clouds.
Most photographers agree that a long exposure begins when the shutter speed is too slow to capture a sharp handheld image. That exact shutter speed varies based on the camera and focal length.
It’s not just landscape photographers who have come to love the technique; It is also popular in other genres such as architecture, street, abstract- and culture photography. This is more common in certain areas of photography but the technique can be used in many different ways.
Best long exposure settings
Here we discuss the best long-exposure settings for creating great photography. Before you take a long exposure photo, there are a few recommended settings you must consider:
- Manual Mode: The first, basic setting is to switch your camera to manual mode (“M”) or bulb mode (“B”). Please note that some cameras automatically switch from manual to bulb mode when you go to a shutter speed of 30″.
- Shoot in RAW: Get the highest quality files and edit your photos after the session.
- Metering Mode: Matrix mode is the most common metering mode, as it refers to the entire scene by emphasizing where the camera is focusing.
- Turn off Image Stabilization (IS): Otherwise, your lens will try to compensate for any movement and, as a result, add blur to your photos.
How to use long exposure?
Basic knowledge of long-exposure photography techniques is essential. Here we discuss how to use long exposure for creating great photography.
- Place your camera on a tripod, table, or other places where it can be steady
- Now you need to set the shutter speed to 1/1000 and you can ask someone to walk across the frame.
- Adjust the shutter speed to 1/500 and repeat the same
- Repeat again but this time using slower shutter speeds like 1/200, 1/20, 1/5, and ending with 1 second.
You will get little difference between the first few pictures. However, when the shutter speed reaches 1/5 of a second, the image starts to look different.
At 1 second, the person walking across the room is blurry, some would say it looks like a ghost!
This is a simple exercise you can do anywhere to see exactly what happens when you increase the exposure time. Bring a tripod and head to the nearest river and you’ll see how long exposure photography techniques can impact your landscape photography.
When to use long exposure?
Long exposure photography is the choice of slow shutter speeds used creatively to create a sense of movement. You can use long exposures to tell your story whenever your scene has something moving and something completely still. Another time to use long exposures in your work is when you want to show the movement of water over rocks. So when you’re thinking of using a long exposure, check the “still element” of the shot and make sure it’s really still.
You can also use long exposure photography to capture light reflected on water, and star trails, capture creative images with in-camera motion, and more.
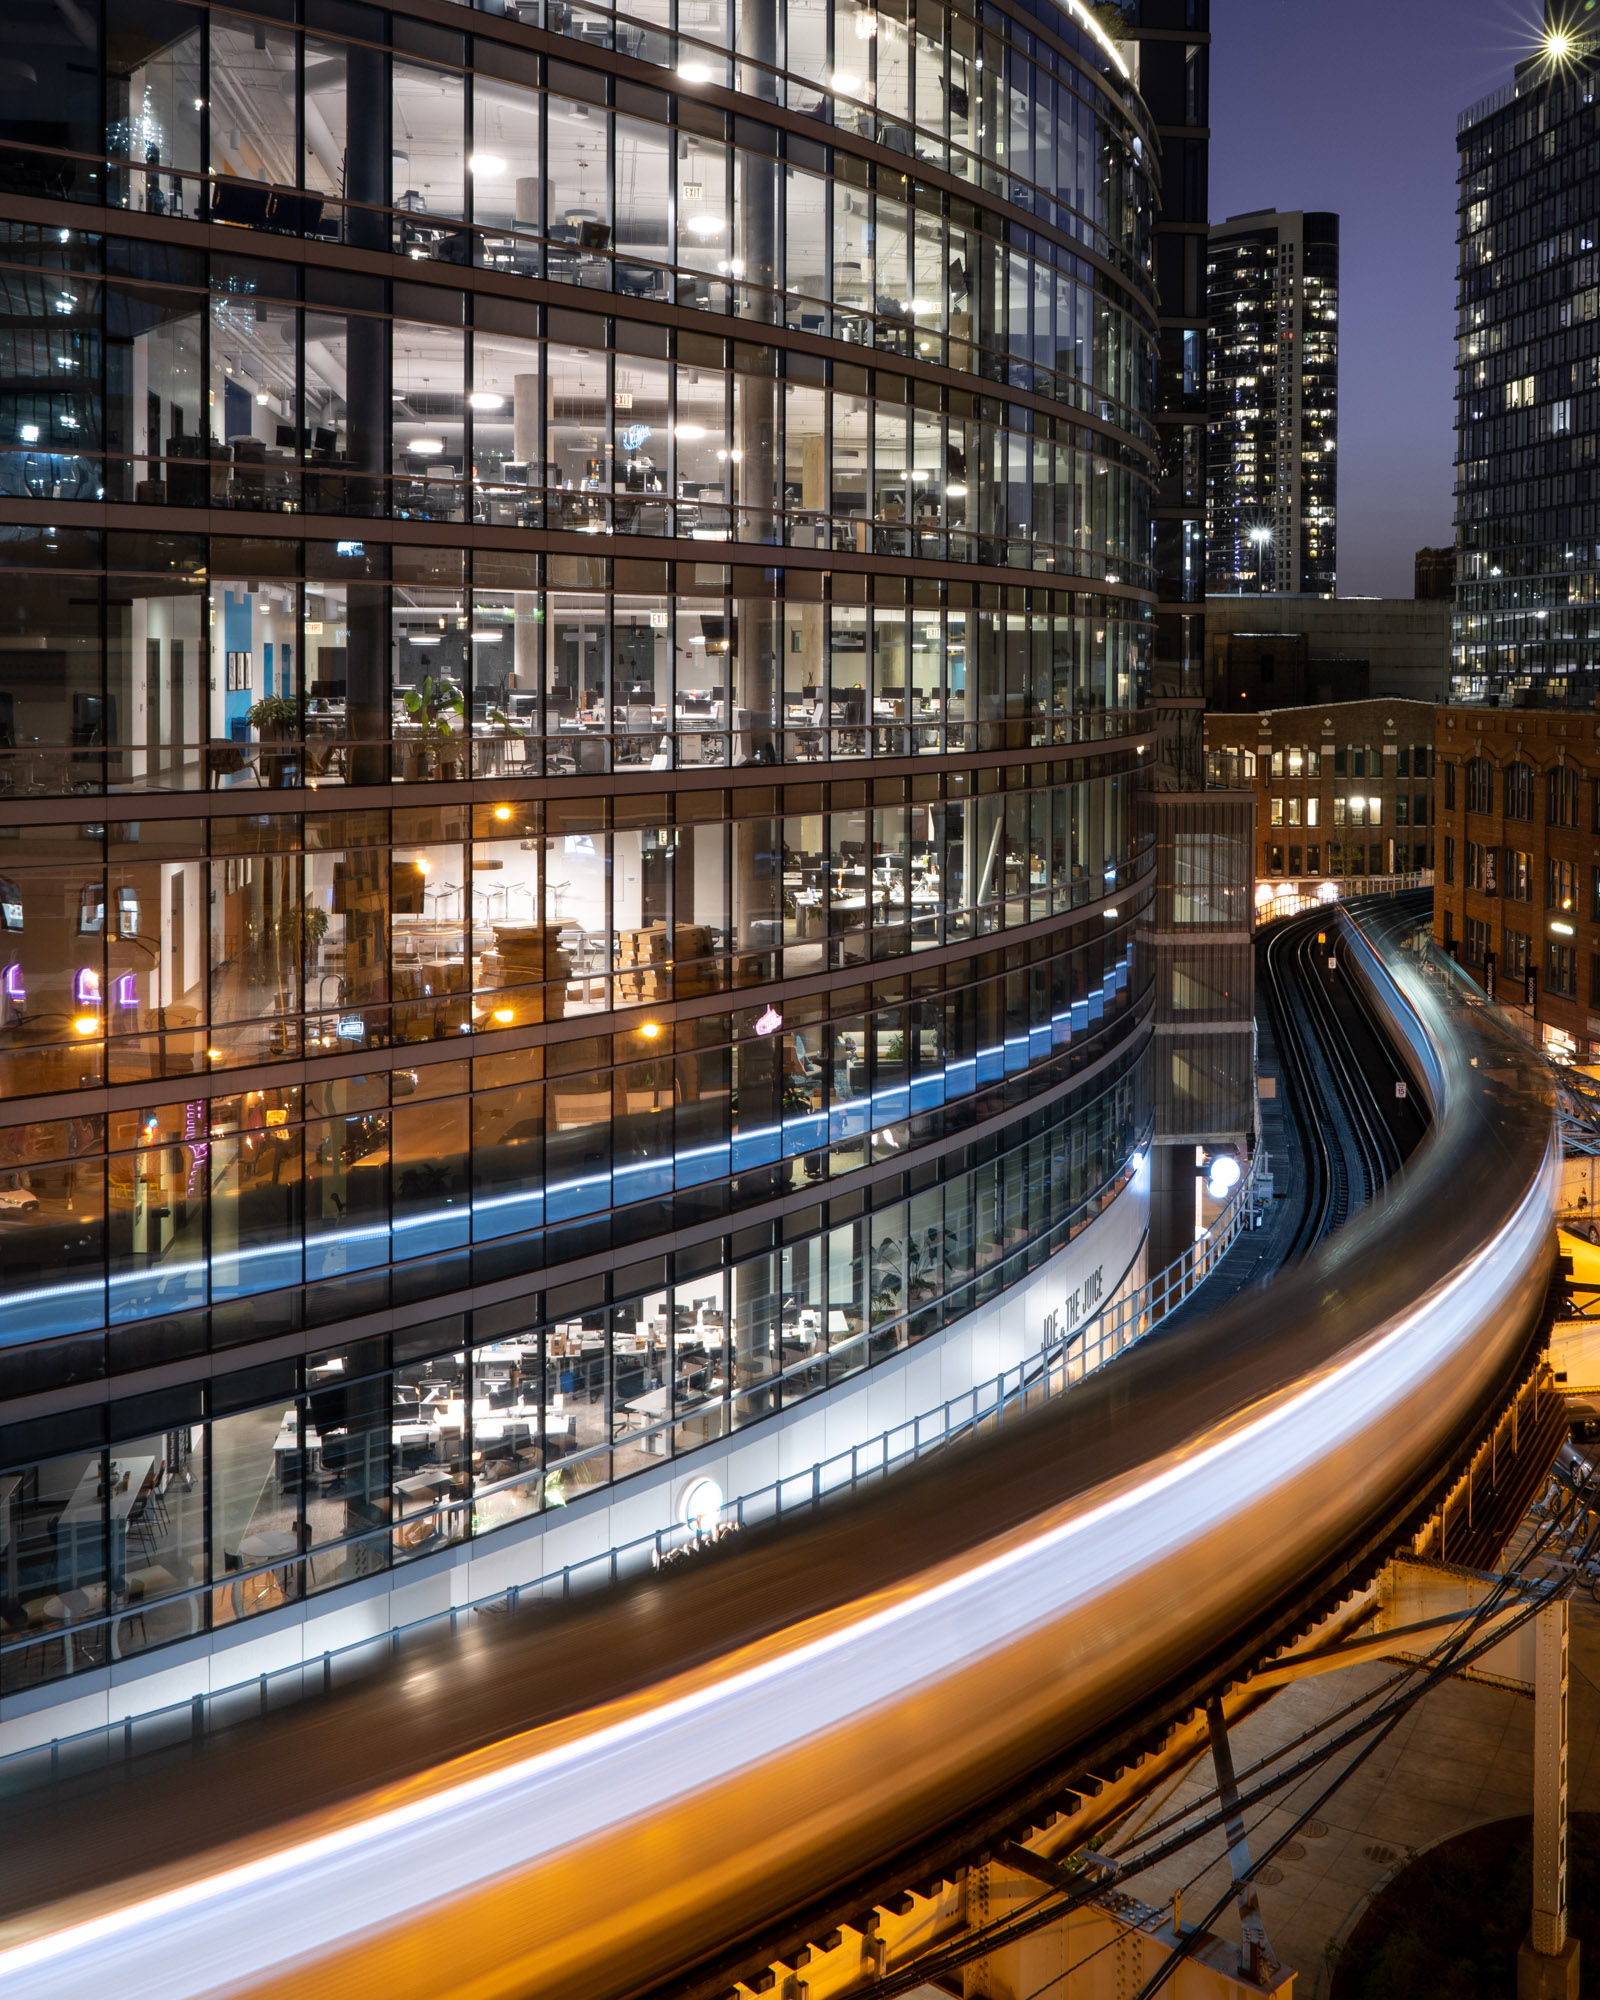
Example

Settings
Aperture: F/9
Shutter Speed: 13s
ISO: 100
Focal length: 16mm
Gear
Camera: Sony a6600
Lens: Sigma 16mm, F/1.4
Conclusion
Long-exposure photography is a lot of fun and a great way to capture interesting and unique images. However, it requires a bit more planning than ‘regular’ photography and any mistakes are more visible. Make sure you take enough time to get things done correctly, as any mistake can cost you valuable time. Remember, if you use a shutter speed of 300 seconds, you won’t take many pictures!

