This article was posted on the Sony Alpha Universe community website (https://alphauniverse.com/stories/beyond-totality-how-this-creator-kept-it-simple-for-a-high-impact-solar-eclipse-composite/)
I want to share my adventure with Total Solar Ecplise, which I bought on April 8th, 2024 in Indiana, USA.
Summary
Settings during the eclipse (no totality), filter on: Shutter speed 1/800-sec., and f/13 at ISO 500
Settings during the totality, filter off: Shutter speed of 1/160-sec., f/13, ISO 500
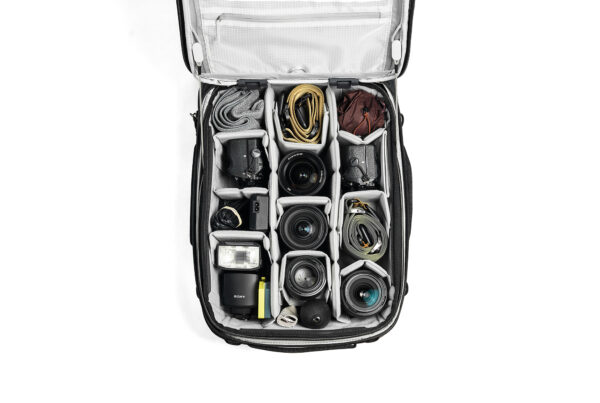
Gear: Sony Alpha 7 IV, Sony 200-600mm f/5.6-6-3 G, Sony 2.0x Teleconverter
Filter: ND 100000

Sony Alpha 7 IV, Sony 200-600mm f/5.6-6.3 G + 2.0x TC. 1/160-sec., f/13, ISO 500
Finding A Location For Totality
The end of last year was the first time I heard about a solar eclipse in the United States, and that totality would be only a few hours drive from Chicago, the closest place in Indiana. I reached out to my good friend John and asked him if he would like to go, he said, “Of course!” We were set.
I knew we needed to track the weather which was the biggest unknown. I got all the equipment needed and I wanted to capture this super unique event, that honestly can happen once in a lifetime, so I knew I had to try to do my best. Bloomington, Indiana was a perfect place but we went even further to Brown County State Park to be better surrounded by nature. Locals were well organized, with a lot of volunteers covering different places and directing people to the right spots (well done!) It was my dream to have a shot of a moon completely covering the sun. It looks magical and I hoped to create an image that could be made into large prints.
Using A Teleconverter & Crop Sensor Mode To Get Close
I knew that totality would last only a little over three minutes depending on the location, so I needed to be as ready as possible because there was no time for error. I did some research, and one of the most important things was having a good filter. It has to be one of those pitch-dark filters (ND 100000), so I made sure I had one.
My main camera is my Sony Alpha 7 IV, and I knew that it was going to be a great camera for this event. The 33MP sensor would give me plenty of resolution and I knew it was the way to go. The camera body is one thing, but I also knew I wanted the eclipse too. be as large within the frame as possible, so I decided to go with the Sony 200-600mm f/5.6-6-3 G plus the Sony 2.0x Teleconverter. This combination got me to 1200mm, and with the cropped sensor mode on my Sony Alpha 7 IV, I was able to get to an effective focal length of 1800mm. I could not ask for more. I added a good tripod and I was set.
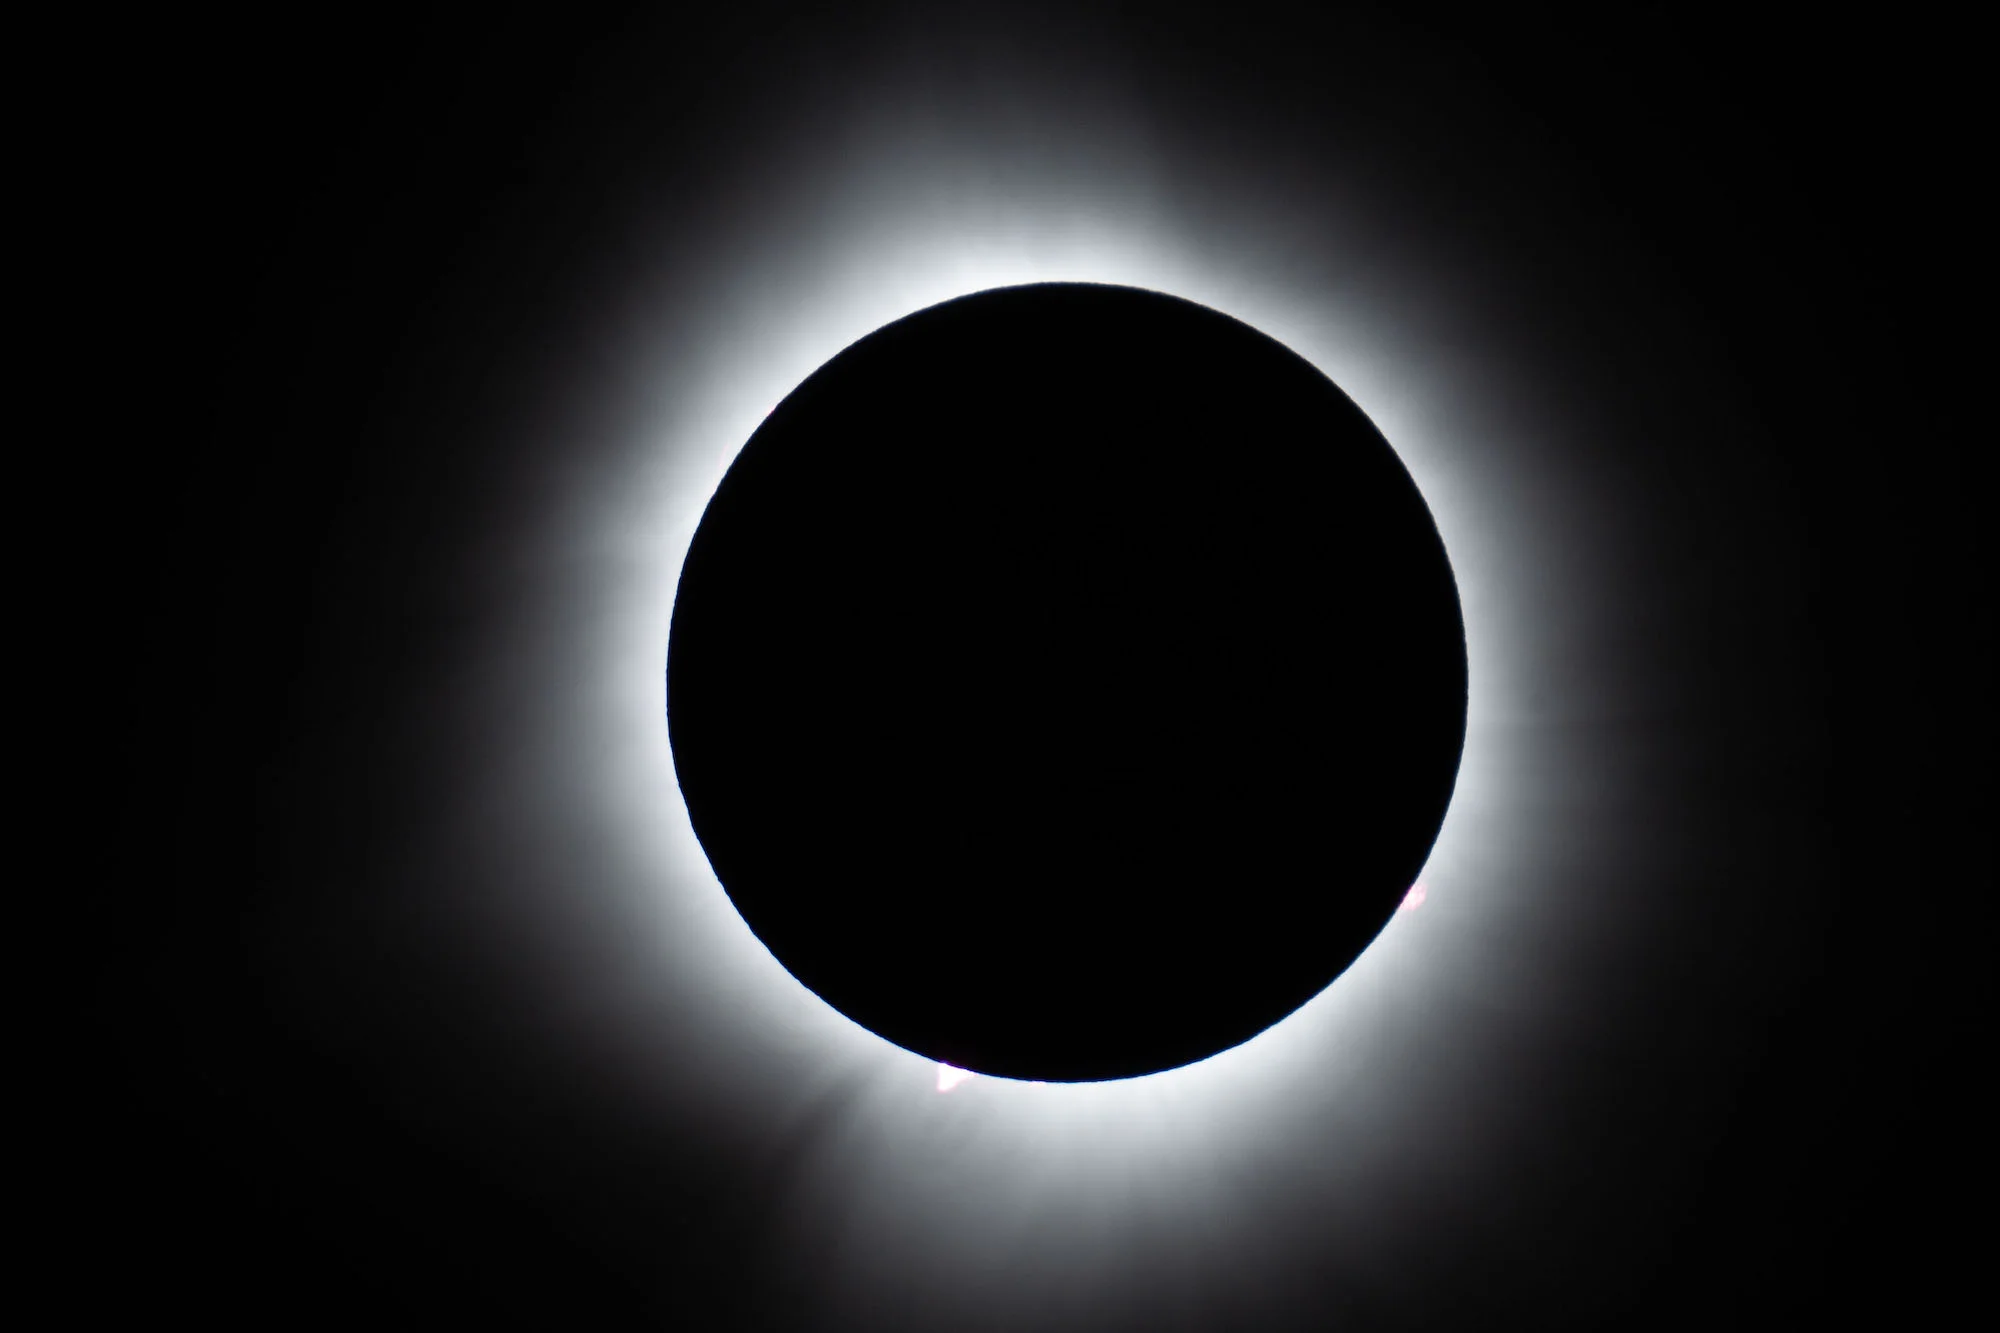
Sony Alpha 7 IV, Sony 200-600mm f/5.6-6.3 G + 2.0x TC. 1/160-sec., f/13, ISO 500
Camera Settings For Capturing The Phases & Totality
I knew I could count on my Sony gear, so then the only stress was to nail my settings. The entire eclipse event was over two hours, so I was able to play with my settings a bit. With a filter on, I would take most shots (total of 700+) at 1200mm, a shutter speed 1/800-sec., and f/13 at ISO 500. I focused manually and confirmed focus often. That was the easy part. I knew that when totality came, I would have a little over three minutes and I would have to change everything – while also trying to look at it and enjoy the moment!
Fun fact, right before totality I tried to unscrew my filter and I couldn’t do it, it got stuck! But after 30 seconds I was able to take it off. It was such a small thing, but in a crucial moment, it could ruin the entire shot. The lesson learned was to always double-check everything and test it way ahead.
I took it off right after the sun was fully covered by the moon and it actually got really dark. I changed my settings to a shutter speed of 1/160-sec., f/13, ISO 500. Essentially, only the shutter speed changed (and no filter) in my exposure triangle. I also needed to zoom out to around 860mm to be able to fit the corona within the frame, and then of course, I had to adjust focus after zooming out.
The Magic Of A Natural Phenomenon
It may seem like not much was changed in that time, but I was in conditions that I couldn’t test and I only had three minutes to make sure everything was perfect. It was a little stressful. At that point I was shooting photos, making sure everything was OK and getting as many shots as possible, while still being present and aware of the moment. It was so magical when birds stopped singing and all the nocturnal insects started making noises. The entirety of nature seemed to react to the eclipse. It was an incredible experience and I highly recommend everyone see one if they have the chance.
After the several-hour drive, we were back in Chicago. I made a copy of the photos before going to bed and then went straight to sleep. The next day, the very first thing I did was check out all of my images to see the event in the photographs I created. I did very little editing in Lightroom, but I also wanted to create something more unique. I selected shots from the entire path of the moon crossing the sun and brought them into Photoshop to create one big composite of the different phases. That composite is about 30,000 x 30,000 pixels and it can be printed in a very big format. I still can’t believe that I was able to capture this event with such precision and amount of detail.

Sony Alpha 7 IV, Sony 200-600mm f/5.6-6.3 G + 2.0x TC.