Introduction
The role of lighting in portrait photography is the most important element in the composition. Light in photography refers to how the light source, artificial or natural, and how the position of the light source relates to your subject. The position of light can affect any number of things in the final image, from clarity to tone to emotion and so much more.
In portrait photography, so much of your lighting choices will depend on the features of the subject. For example, hard light is more intense and will emphasize angles and any surface that are not perfectly flat. Understanding how to make the best use of natural and artificial lighting at every point will be a huge step in anyone’s journey to improving the best possible images.
Different types of lighting in portrait photography
Portrait photographers use a bunch of different lights and lighting styles to achieve the results they desire. Sometimes great portraits are done with 10 lights and even greater portraits are done with a single light. Great photographers can do both. They play around with lights like tools in their toolbox to create something different.
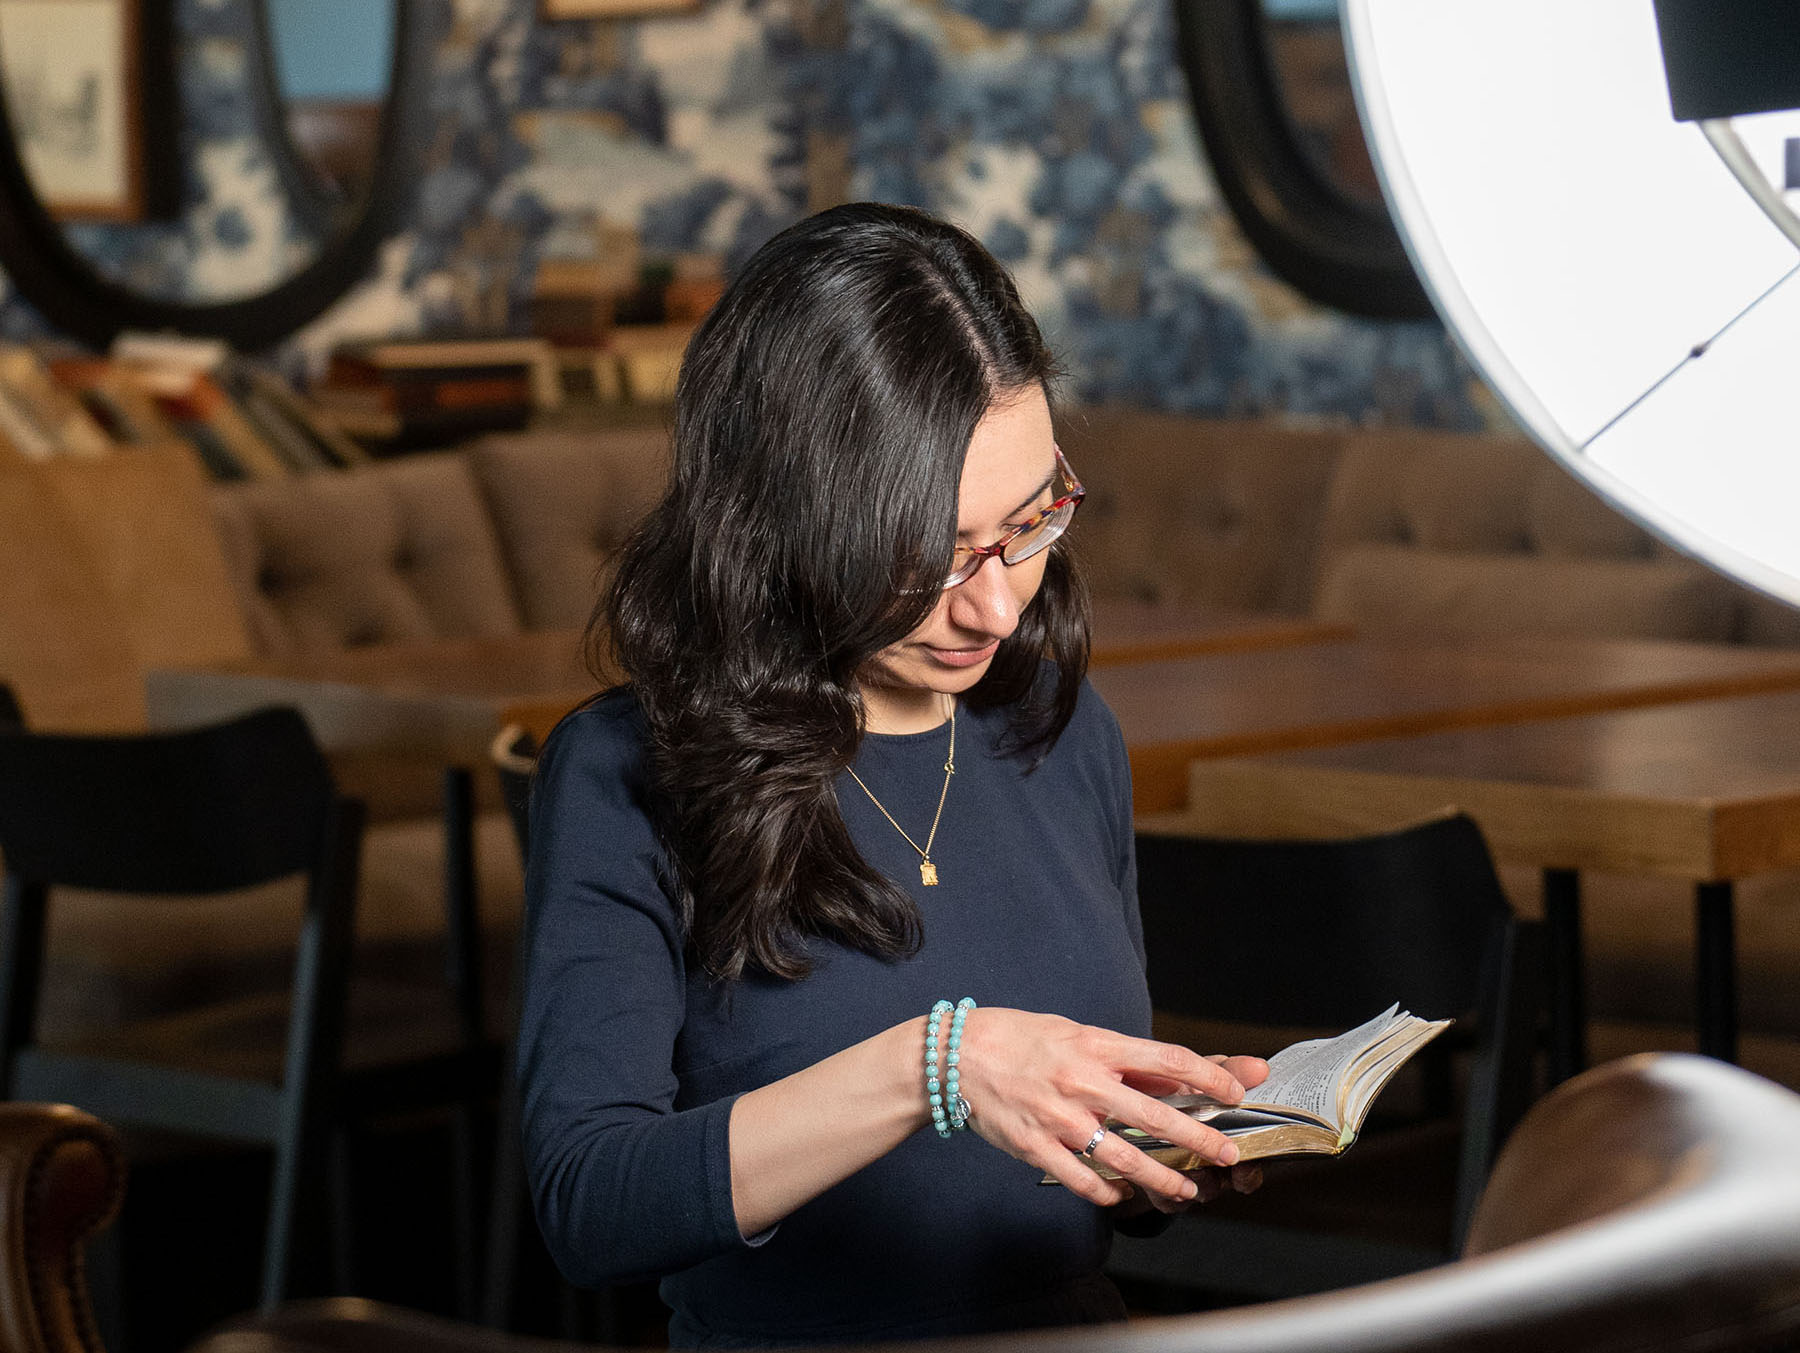
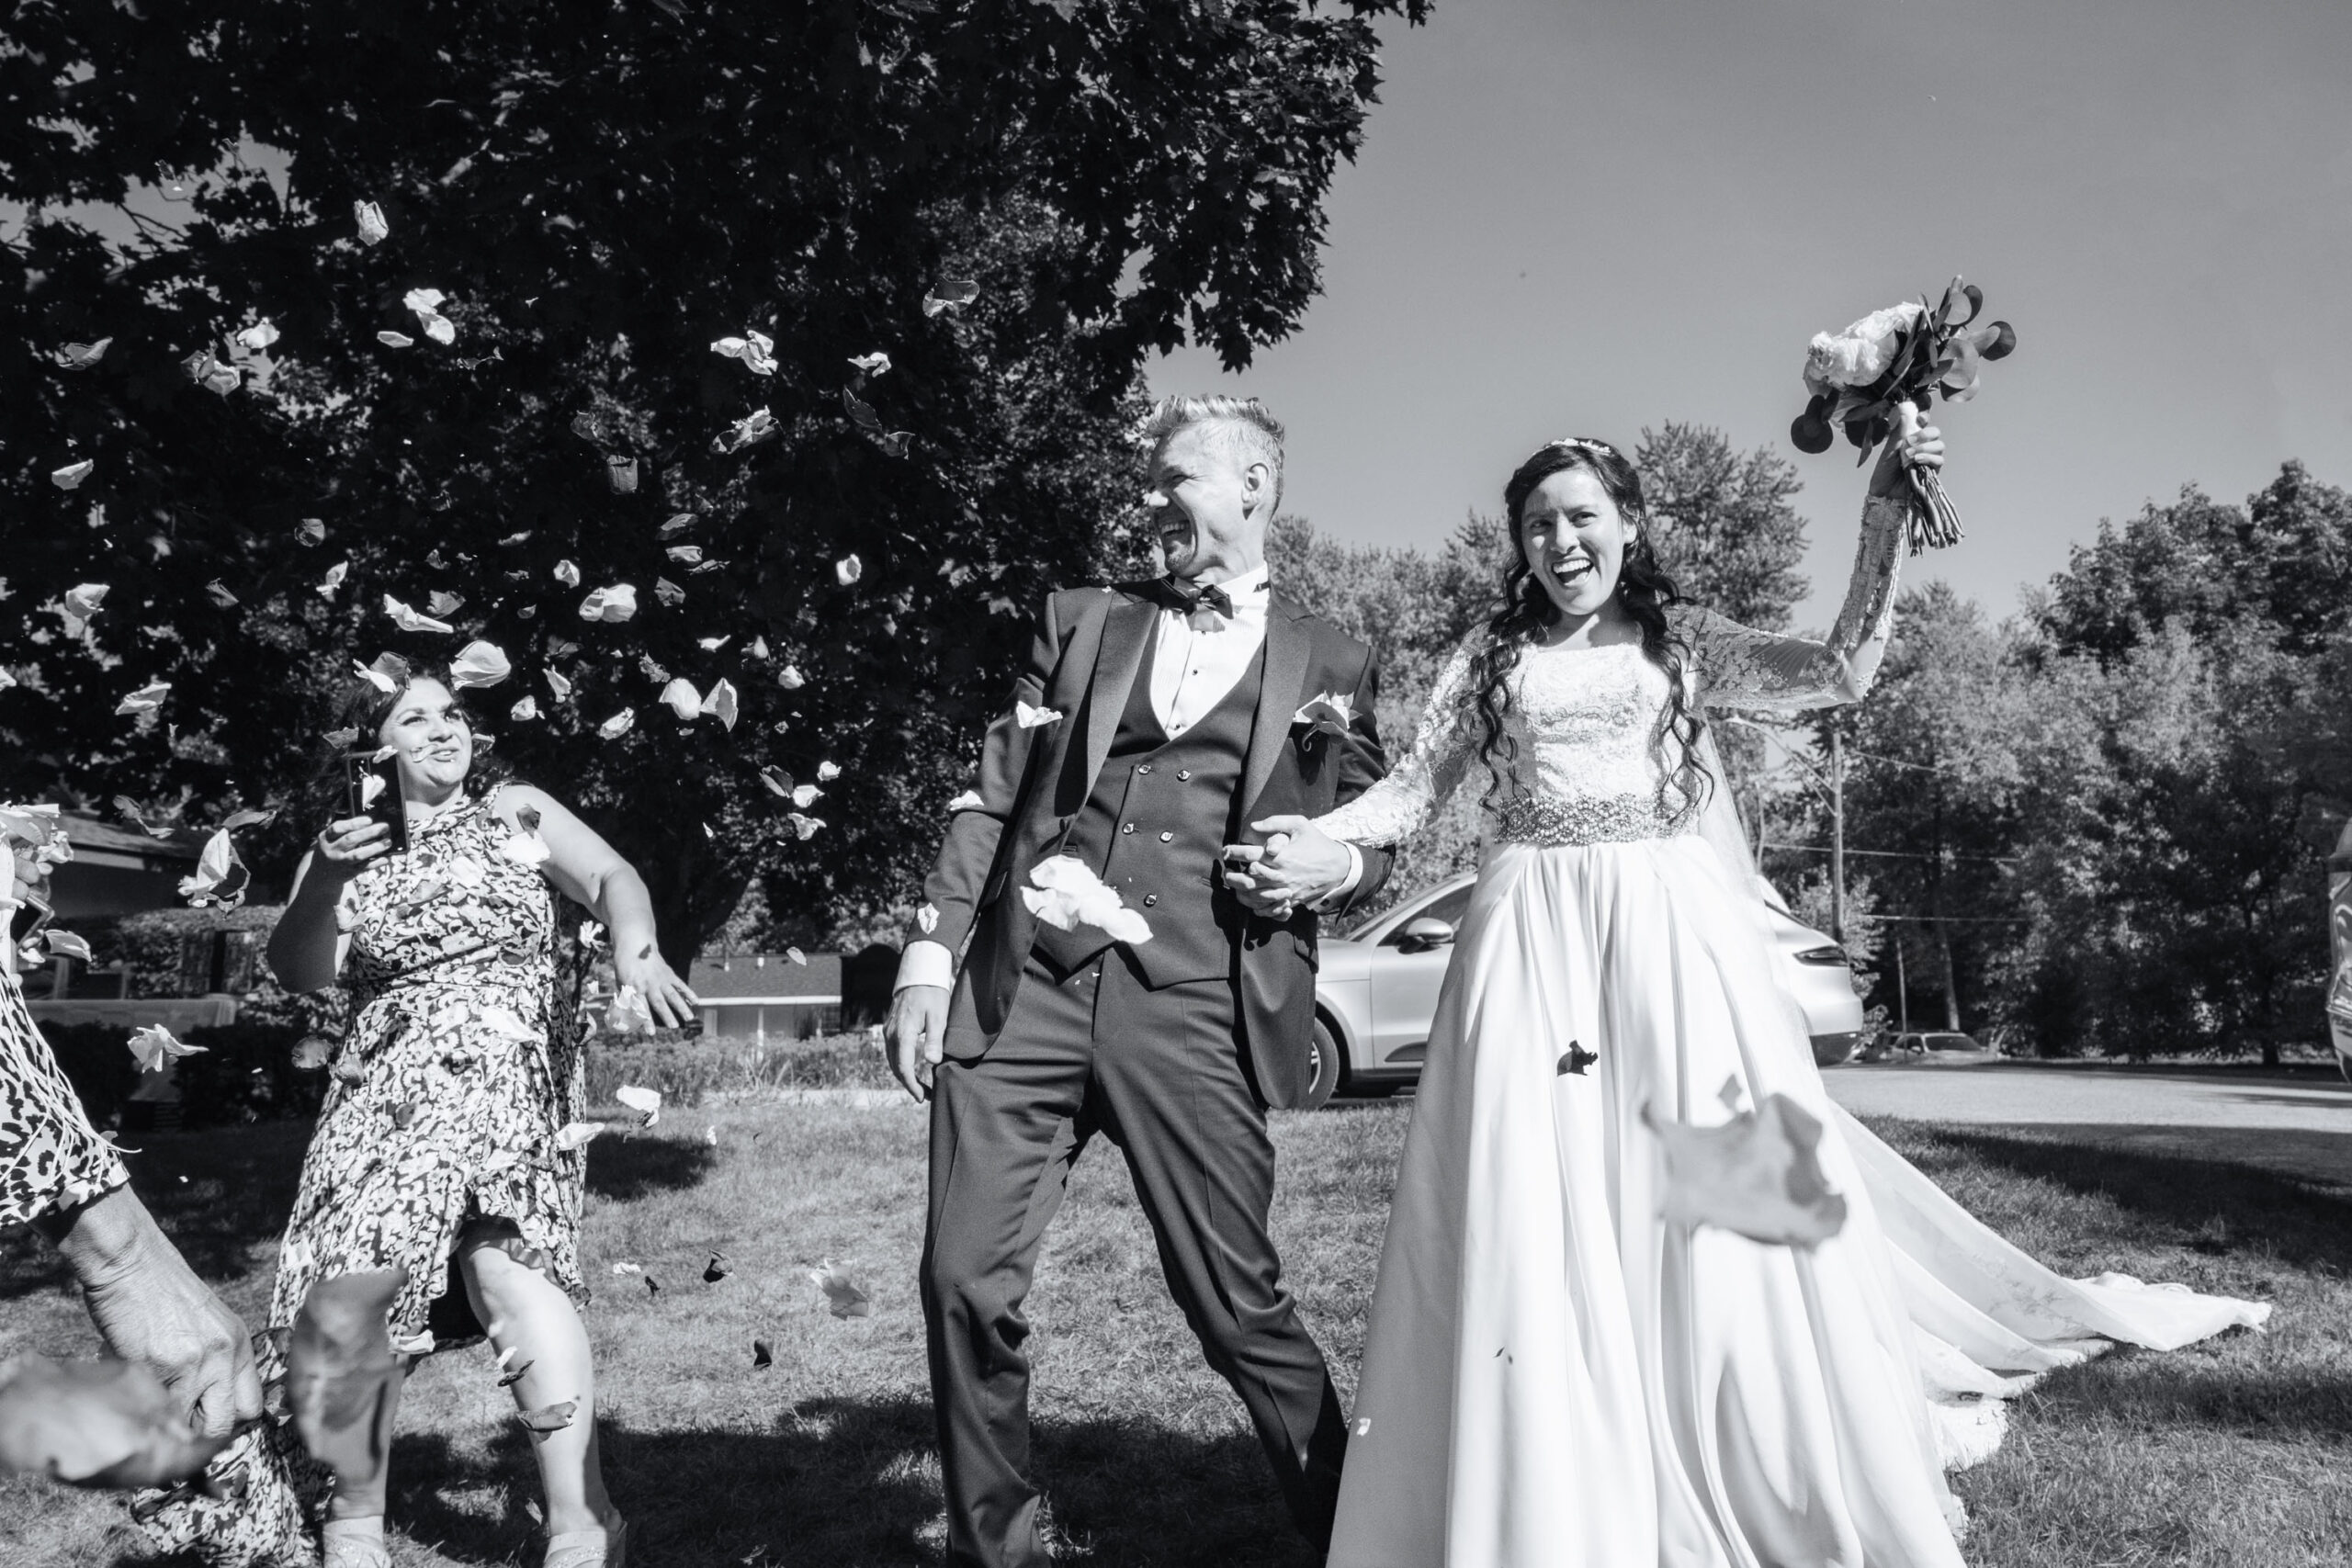
In any photography, lighting is about how you use it, not the number of lights. Usually, outdoor portrait photography is done with golden hour lighting or cloudy. Indoor portrait photography is done with window light, but studio portrait photographers use diffused light to create a soft, flattering look. It’s possible to capture beautiful portraits, no matter the light but you have to be skilled to pull this off.
1. Hair Light
A hair light is used normally when you want to separate your subject from the background. It will bring out edge detail in the hair and highlight its shape. Depending on your style, you will want to either make your hair light very bright, and visible, or go subtle with it. If you choose to make it visible, it will look very artificial and faux. On the other hand, if you choose a more subtle route, you will end up having a much more natural-looking image.
Hair lights are common spots lights as we don’t want any spill on the rest of the subject. A normal problem with hair lights is that they can create a spill which can turn out as glare in your shot. So, it is always a good idea to have a method of reducing that light spread to the area you need to cover.
2. Key Light
The key light is the most important light in the image and ideally. It is the most visibly present light in the picture. The key light is basically the brightest and tends to be soft in most portrait situations. A nice idea is to have your key from left to right if you are shooting for a Western audience. And right to left if you are mainly shooting for a mainly Arabic audience. Some unique images only need a key light.
3. Side Light
The side light is an important light that is used for creating split setups. It is very common for side lighting to be dramatic as it reveals only one side of the subject’s face. Strip softbox is a popular tool for side lighting. One can also create side lighting by photographing your subject next to a natural light source.
Lights, stands, and accessories I use? Neewer, get 15% OFF with my cupone “COFFEEWITHDAMIAN”!
4. Fill Light
In portrait photography, fill light is used to decrease contrast on your subject. Such as, if your image has shadows that are far too dark, you may want to introduce fill to bring out shadow detail. Fill in a large light source placed behind the camera. You want the fill light to be as flat as possible as it is meant to slightly brighten the whole image.
5. Rim Light
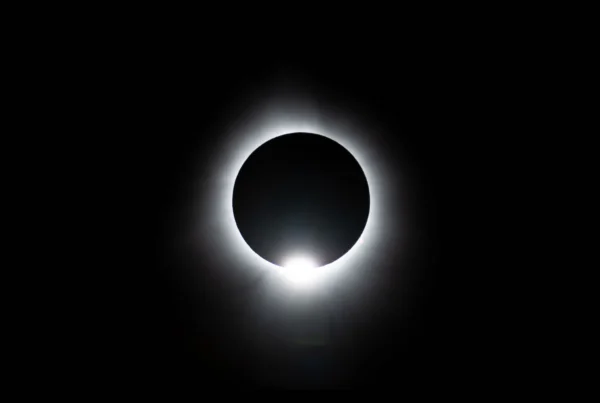
Rim lights are used to highlight the shape, and textures of the subject as well as provide additional separation from the background. A rim light can keep an image from falling flat and can bring textures and contours that make an image appear more lively. A rim light is placed behind a subject that exposes the outline. This special light highlights the contours of a subject and creates a dramatic effect.
Rim lights are mainly strip boxes because of the thin and tall light pattern that they form. These lights are very common when photographing athletes and fitness professionals. They will focus on the subject’s hard lines and body shape by using this light. Rim lights can also produce glare if their position is not correct. So, you can add grids and flags to the strip softboxes to reduce that effect.
6. Kick Light
Kick lights are used for highlighting the face. Many people do not understand what’s the difference between a kick light and a hair light. The difference is that a hair light will light up only hair but a kick light can do both, as well as light up a side of the subject’s facial shape. This will make more separation and add definition to the subject’s facial shape. Normally, kickers are a 0.75 or 1 stop above the other lights hitting the face. It is very important to balance your kicker properly.
Conclusion
Remember and apply these suggestions are only a single way to entrance lighting for portraits. The main thing is there is no right or wrong way to light. There is only appropriate or not appropriate for the image you are trying to create. In this article, I am describing some normal definitions of light and some skills that can help you.
In conclusion, I hope these terms cleared up a little confusion and helped you create a unique portrait image. Let me know what light do you use?
